And Finally to Finish
The Fine Art of Finishing
I’ve been wanting to write this for quite some time now. Having been a craftsman for over forty years, I have spent many, many hours of my life making different metals shiny and woods show their true forms with beautiful lustre - goodness, I wonder how many hours!
In this article I am just going to concentrate on the highly polished finish of knives as that is most prevalent in my work as a bladesmith. Although I do leave other finishes on my blades; the ‘brut de forge’ (or hammered finish) and the satin finish, to name a couple.
When to Start Finishing
By the very name of the process you would think that finishing may be the last thing I do when I have made a knife. Not so, my friend. In many cases the finishing of individual components will be impossible after assembly.
For instance, the polish of the blade cannot be completed once the handle is attached because the handle will be in the way of the finishing processes. So I always take a blade to its final finish before the knife is assembled.
I’m going to take you through the processes involved in finishing a knife that has a blade forged from high-carbon steel.
Step 1
Even while I am forging, and before I’ve picked up my hammer, I’m thinking of finish. Whatever the hot metal comes into contact with will impart its own finish into the soft steel. So I make sure that the surface of my anvil is as clean as possible and the hammers I work with are also clean and usually polished. This is most important when the blade is left brut de forge.
A trick I used to use when I was a silversmith was to rub some coarse wet’n’dry paper on my hammer face. This would enable me to see just where my hammer blows landed on the silver surface so that the planishing hammer work could be kept tight and complete.
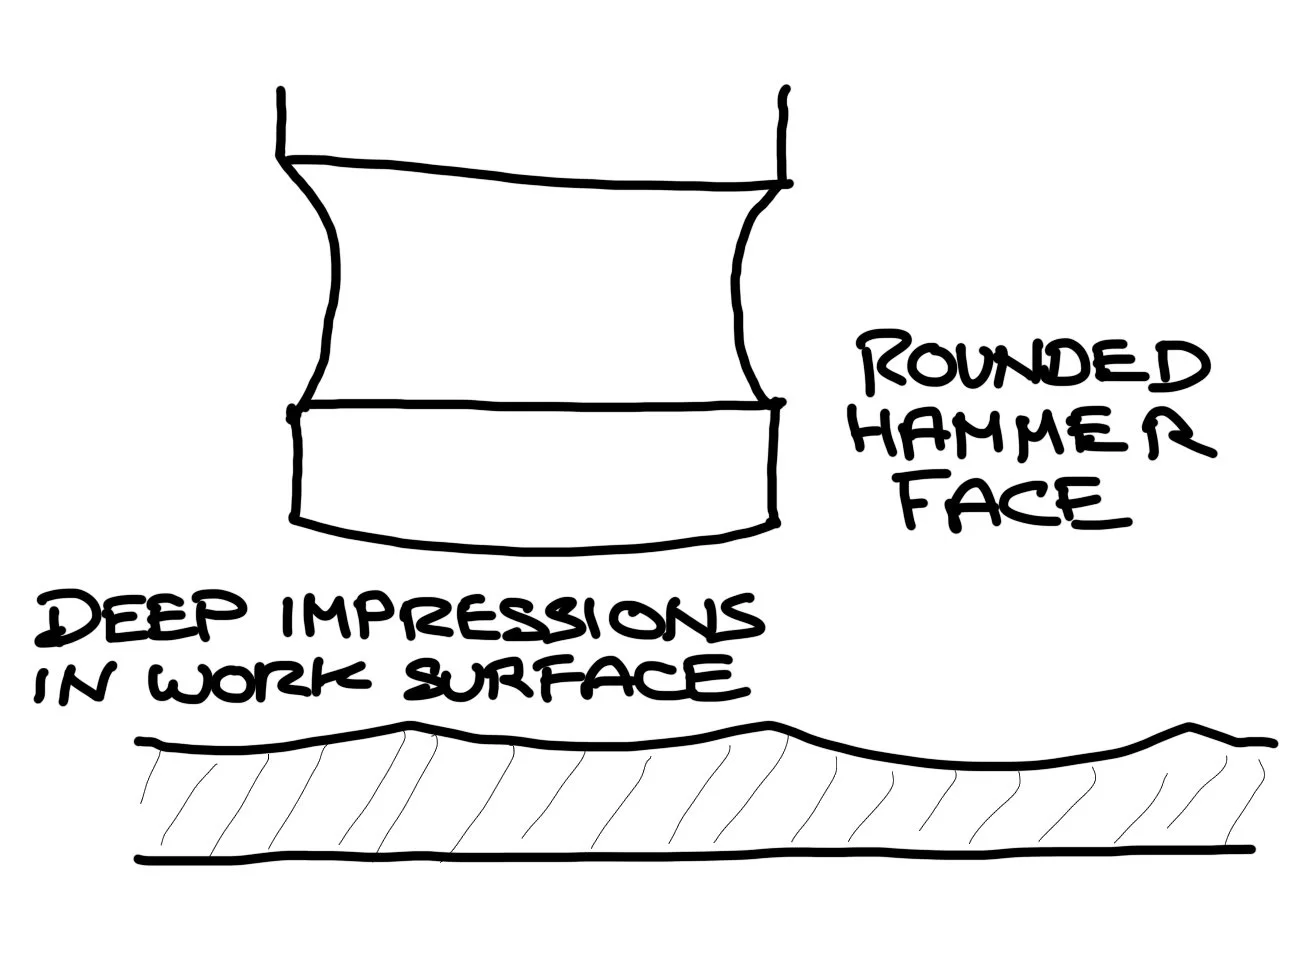
When you are doing your planishing, the hammer should be as flat faced as possible so as to leave the least amount of material to remove to get a flat finish. The dangers of using a rounded hammer face are shown in the diagram.
Step 2
When I’m happy with the forging it’s time to start cutting the surface back, and we start with our abrasives.
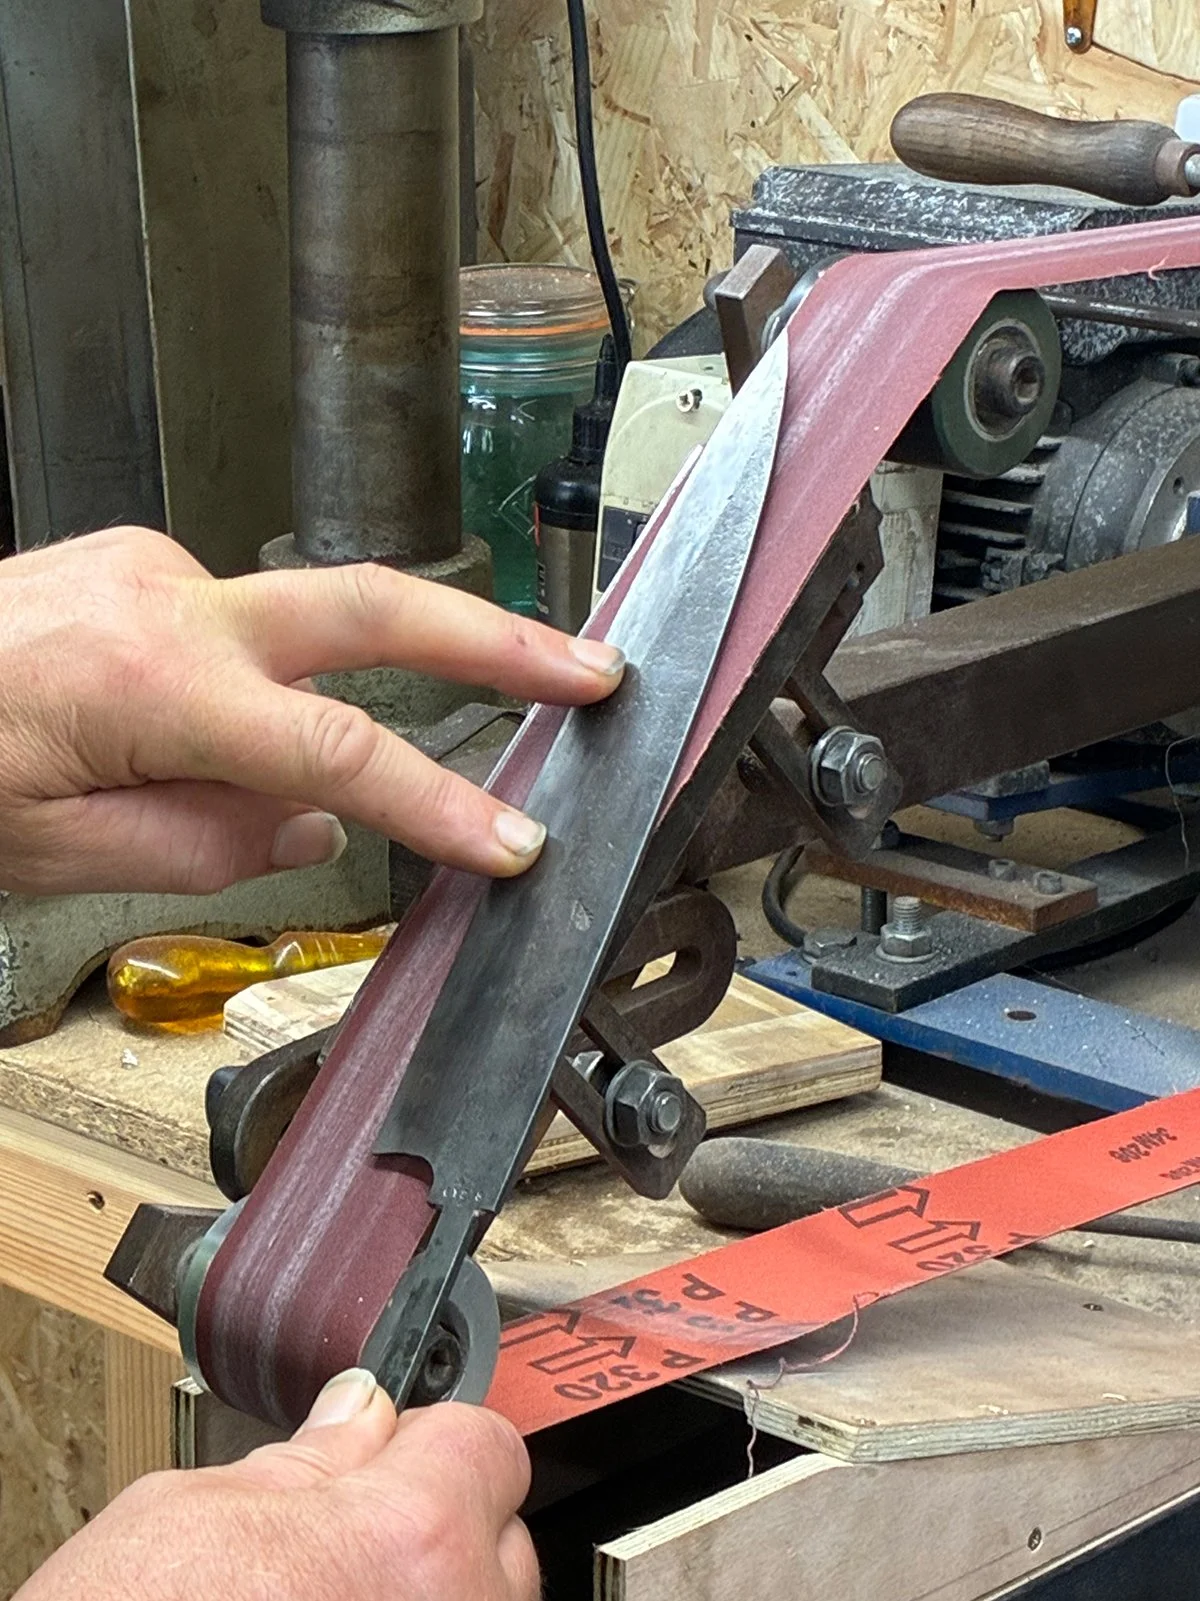
I like to do this using my 50×2000 belt grinder with the abrasive running over a flat platten and I use a belt with P60 grit size; if its a really heavy blade I may start with P30 followed by P60 at this stage, but I prefer the fine control of P60. I use 3M Cubitron belts.
Step 2 is usually a little dance between the belt grinder and the anvil as the grinding pattern may show up unevenness in the surface that requires more planishing.
At this stage I will flatten the cheeks and the initial forged-in bevel of my blade.
Once all the forging marks are taken out I will then take out the P60 scratch pattern with P120. The way this is done brings up a fundamental part of abrasive finishing.
Important Fundamental
To be able to see when you have removed all the P60 scratches, your P120 work must go across the direction of the scratches made previously. If you try following one grit size with a finer grit size in the same direction those P60 scratches will hide and you won’t be able to see when they are gone.
When my blade is finished to P120 I will heat treat my blades. I don’t go to a finer grit before hardening because often when the steel decarburises a little during heat treatment the surface may require another pass with P120 or at least P180 to remove the decarburising marks.
Step 3
After heat treatment I will repeat the finishing with P120 or P180 before moving to the next grit size. I will still be working on my 50×2000 belt grinder and carry on the grinding process to P240, then P320, then P400. All the time making sure I have removed all the scratches from the previous, coarser grit. This starts to get very difficult the finer grit size you work to. I find having a good, bright work light in combination with a black painted board for contrasting reflections, when you get the angle right, will show up any scratches remaining from the previous grit size.
Once again 3M Cubitron II 784F belts work well with a relatively long lifespan but they only go down to P180. For P240, P320 and P400 grits I use Deerfos Prizma structured aluminium oxide belts.
No Belt Grinder - No Problem
Just use wet’n’dry paper; but make sure it is wound tightly around a hard piece of wood and set yourself up carefully. See below.
Step 4 - Hand Sanding
Technically not sanding because we don’t use sandpaper on metal, but hey ho, that’s what we all call it. The best kind of wet’n’dry paper I find is silicon carbide paper. There are several top brands and there is really not much to choose between them; Klingspor and Rhynowet are the two brands that I favour but one thing you will find is that they don’t stay sharp for very long when polishing very hard steel so you will need a good stock of all the different grits.
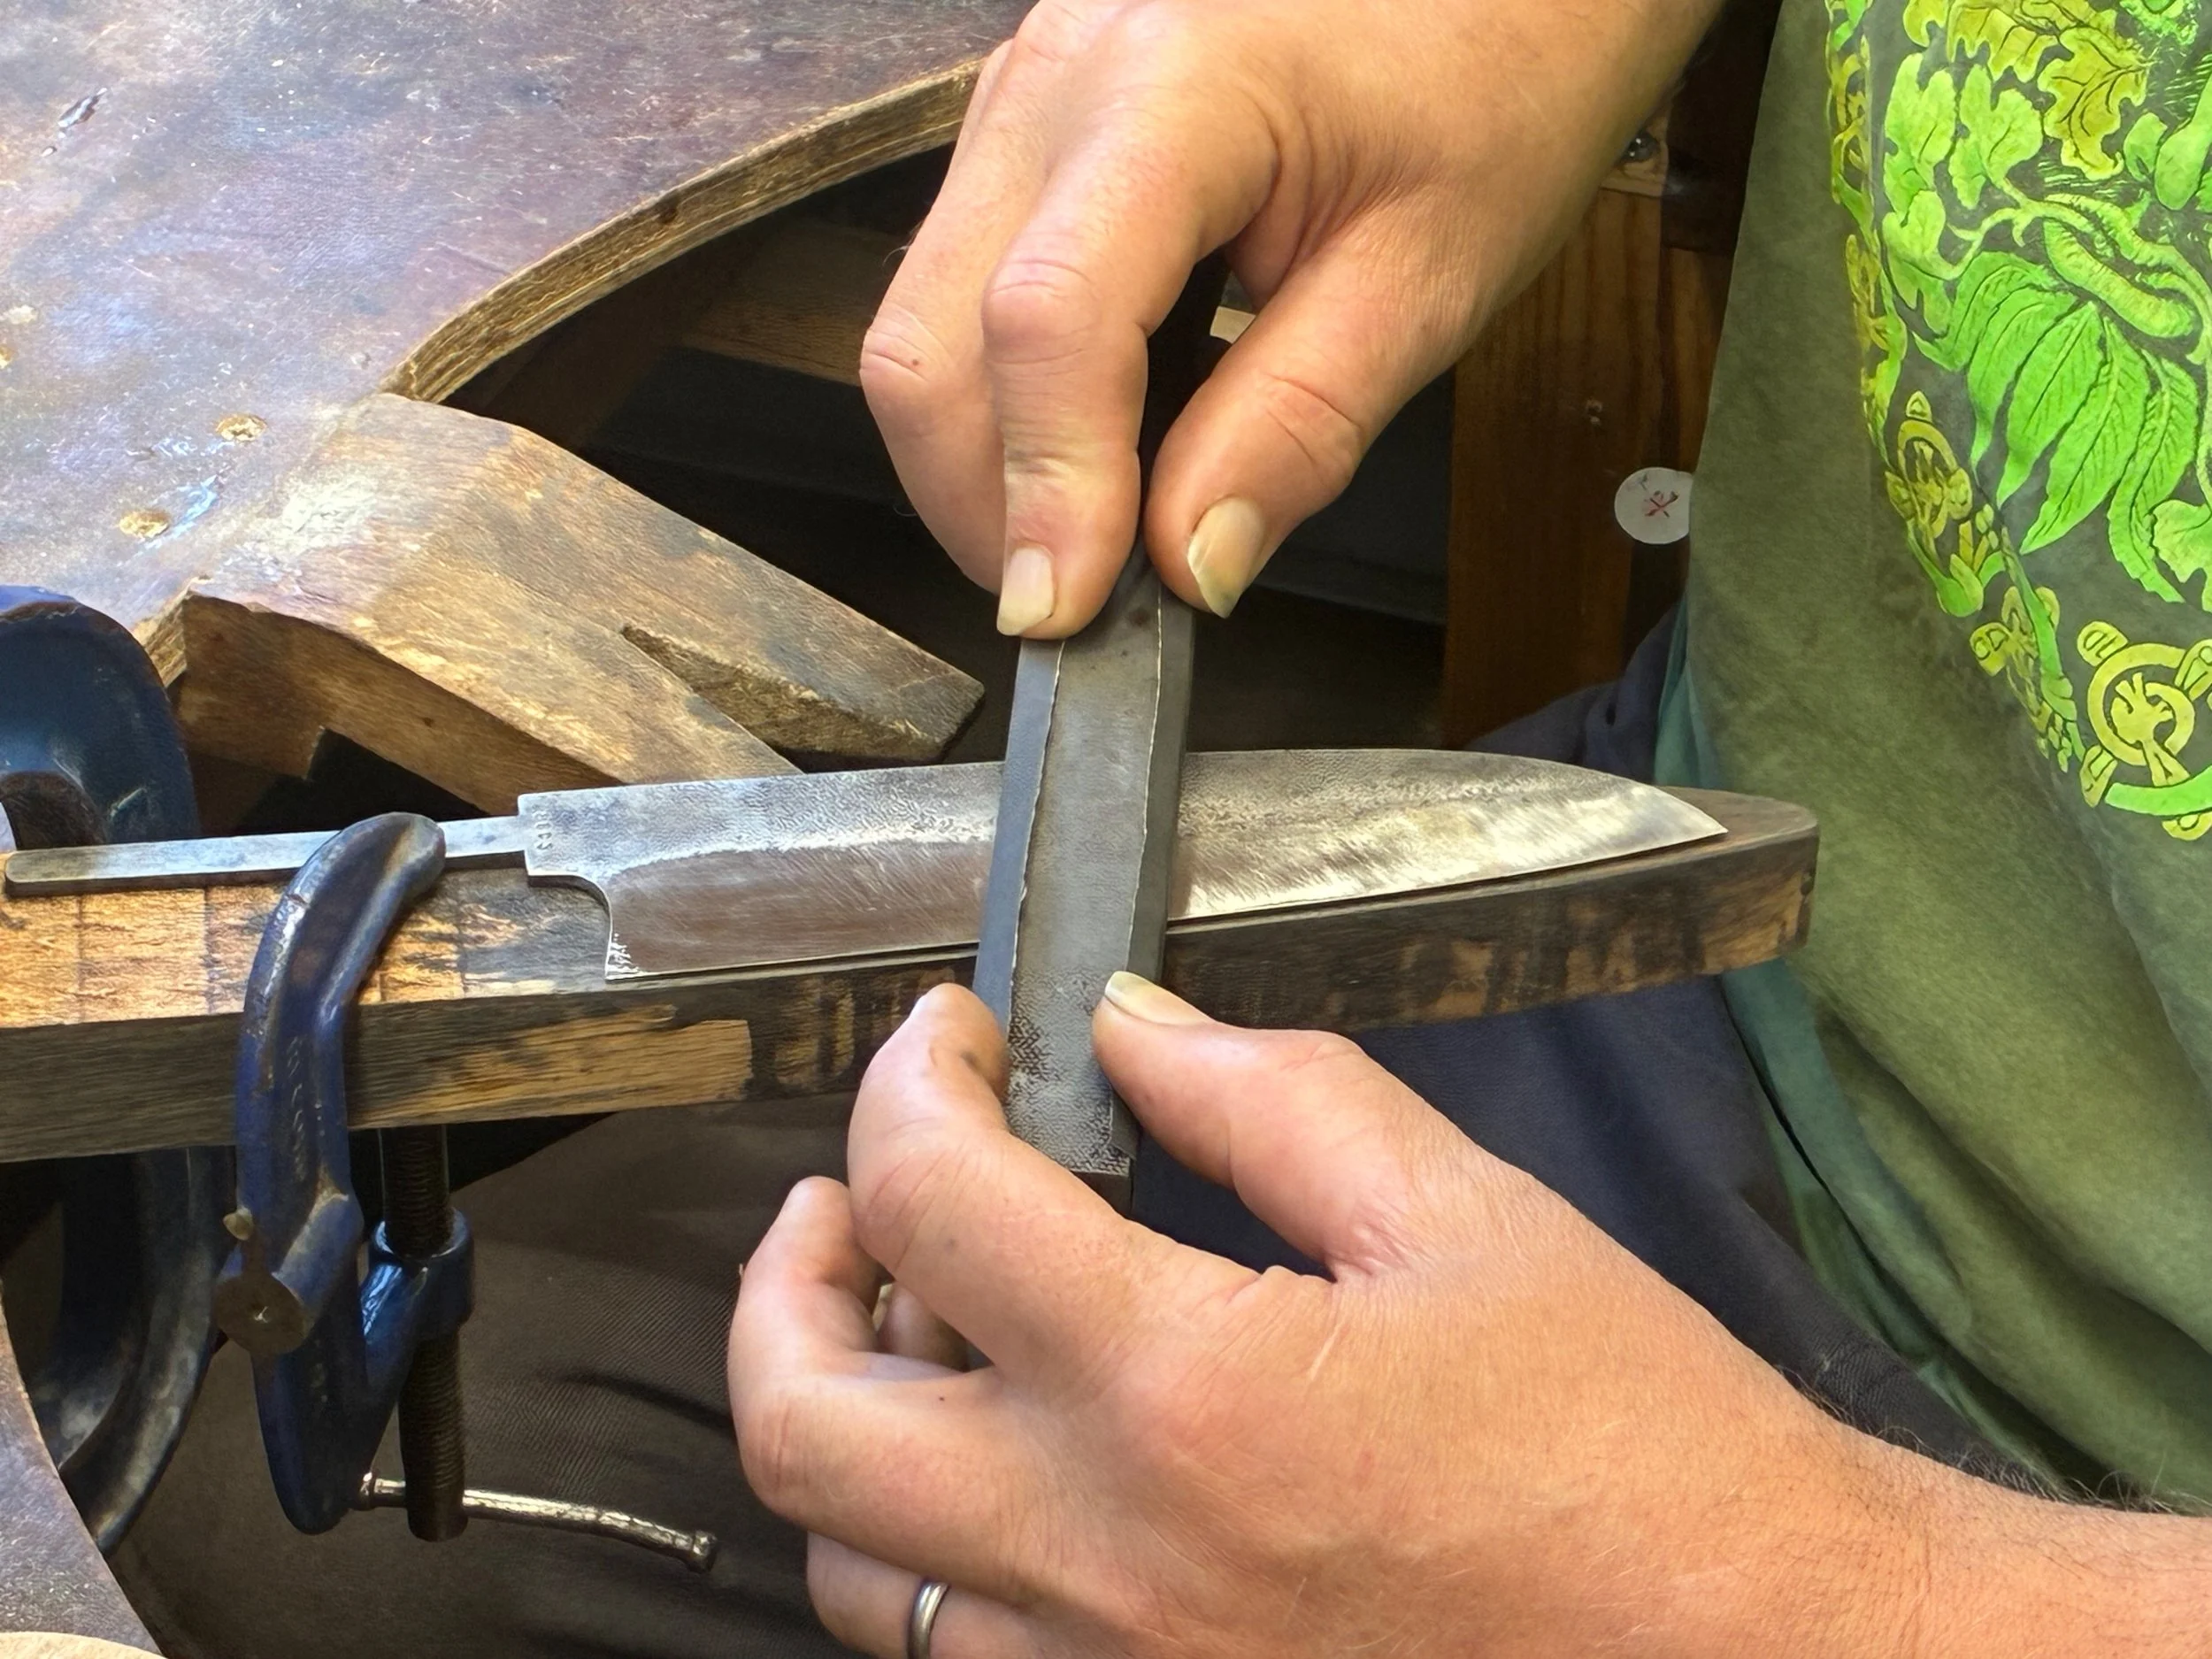
Ensuring you are set up comfortably and using a hard ‘sanding stick’ to wrap your wet’n’dry paper is important. Your sanding action needs to be as flat as possible to try and keep your blade flat. Sit so that your elbow is level with your blade and wrap the wet’n’dry paper tightly around your sanding stick; this will ensure that corners don’t get rounded off and edges are kept crisp and straight. I clamp my blade to a length of stout hardwood so it stays good and firm while I work.
I will work through all the grits from P400 then P600, P800, P1000, P1200, P1600 and finally I use P2000. The last and finest hand sanding I do is along the length of the blade.
Step 5 - Final Polish
This can be done using a piece of leather attached to a polishing stick that is treated with polishing compound regularly. My preferred polish is Cannings ‘Hyfin’. I used to use it when polishing silver and was always amazed at how well it cut down marks but left a very fine finish.
Using a leather polishing stick will ensure the edges and corners of your blade are left as crisp and sharp as possible.
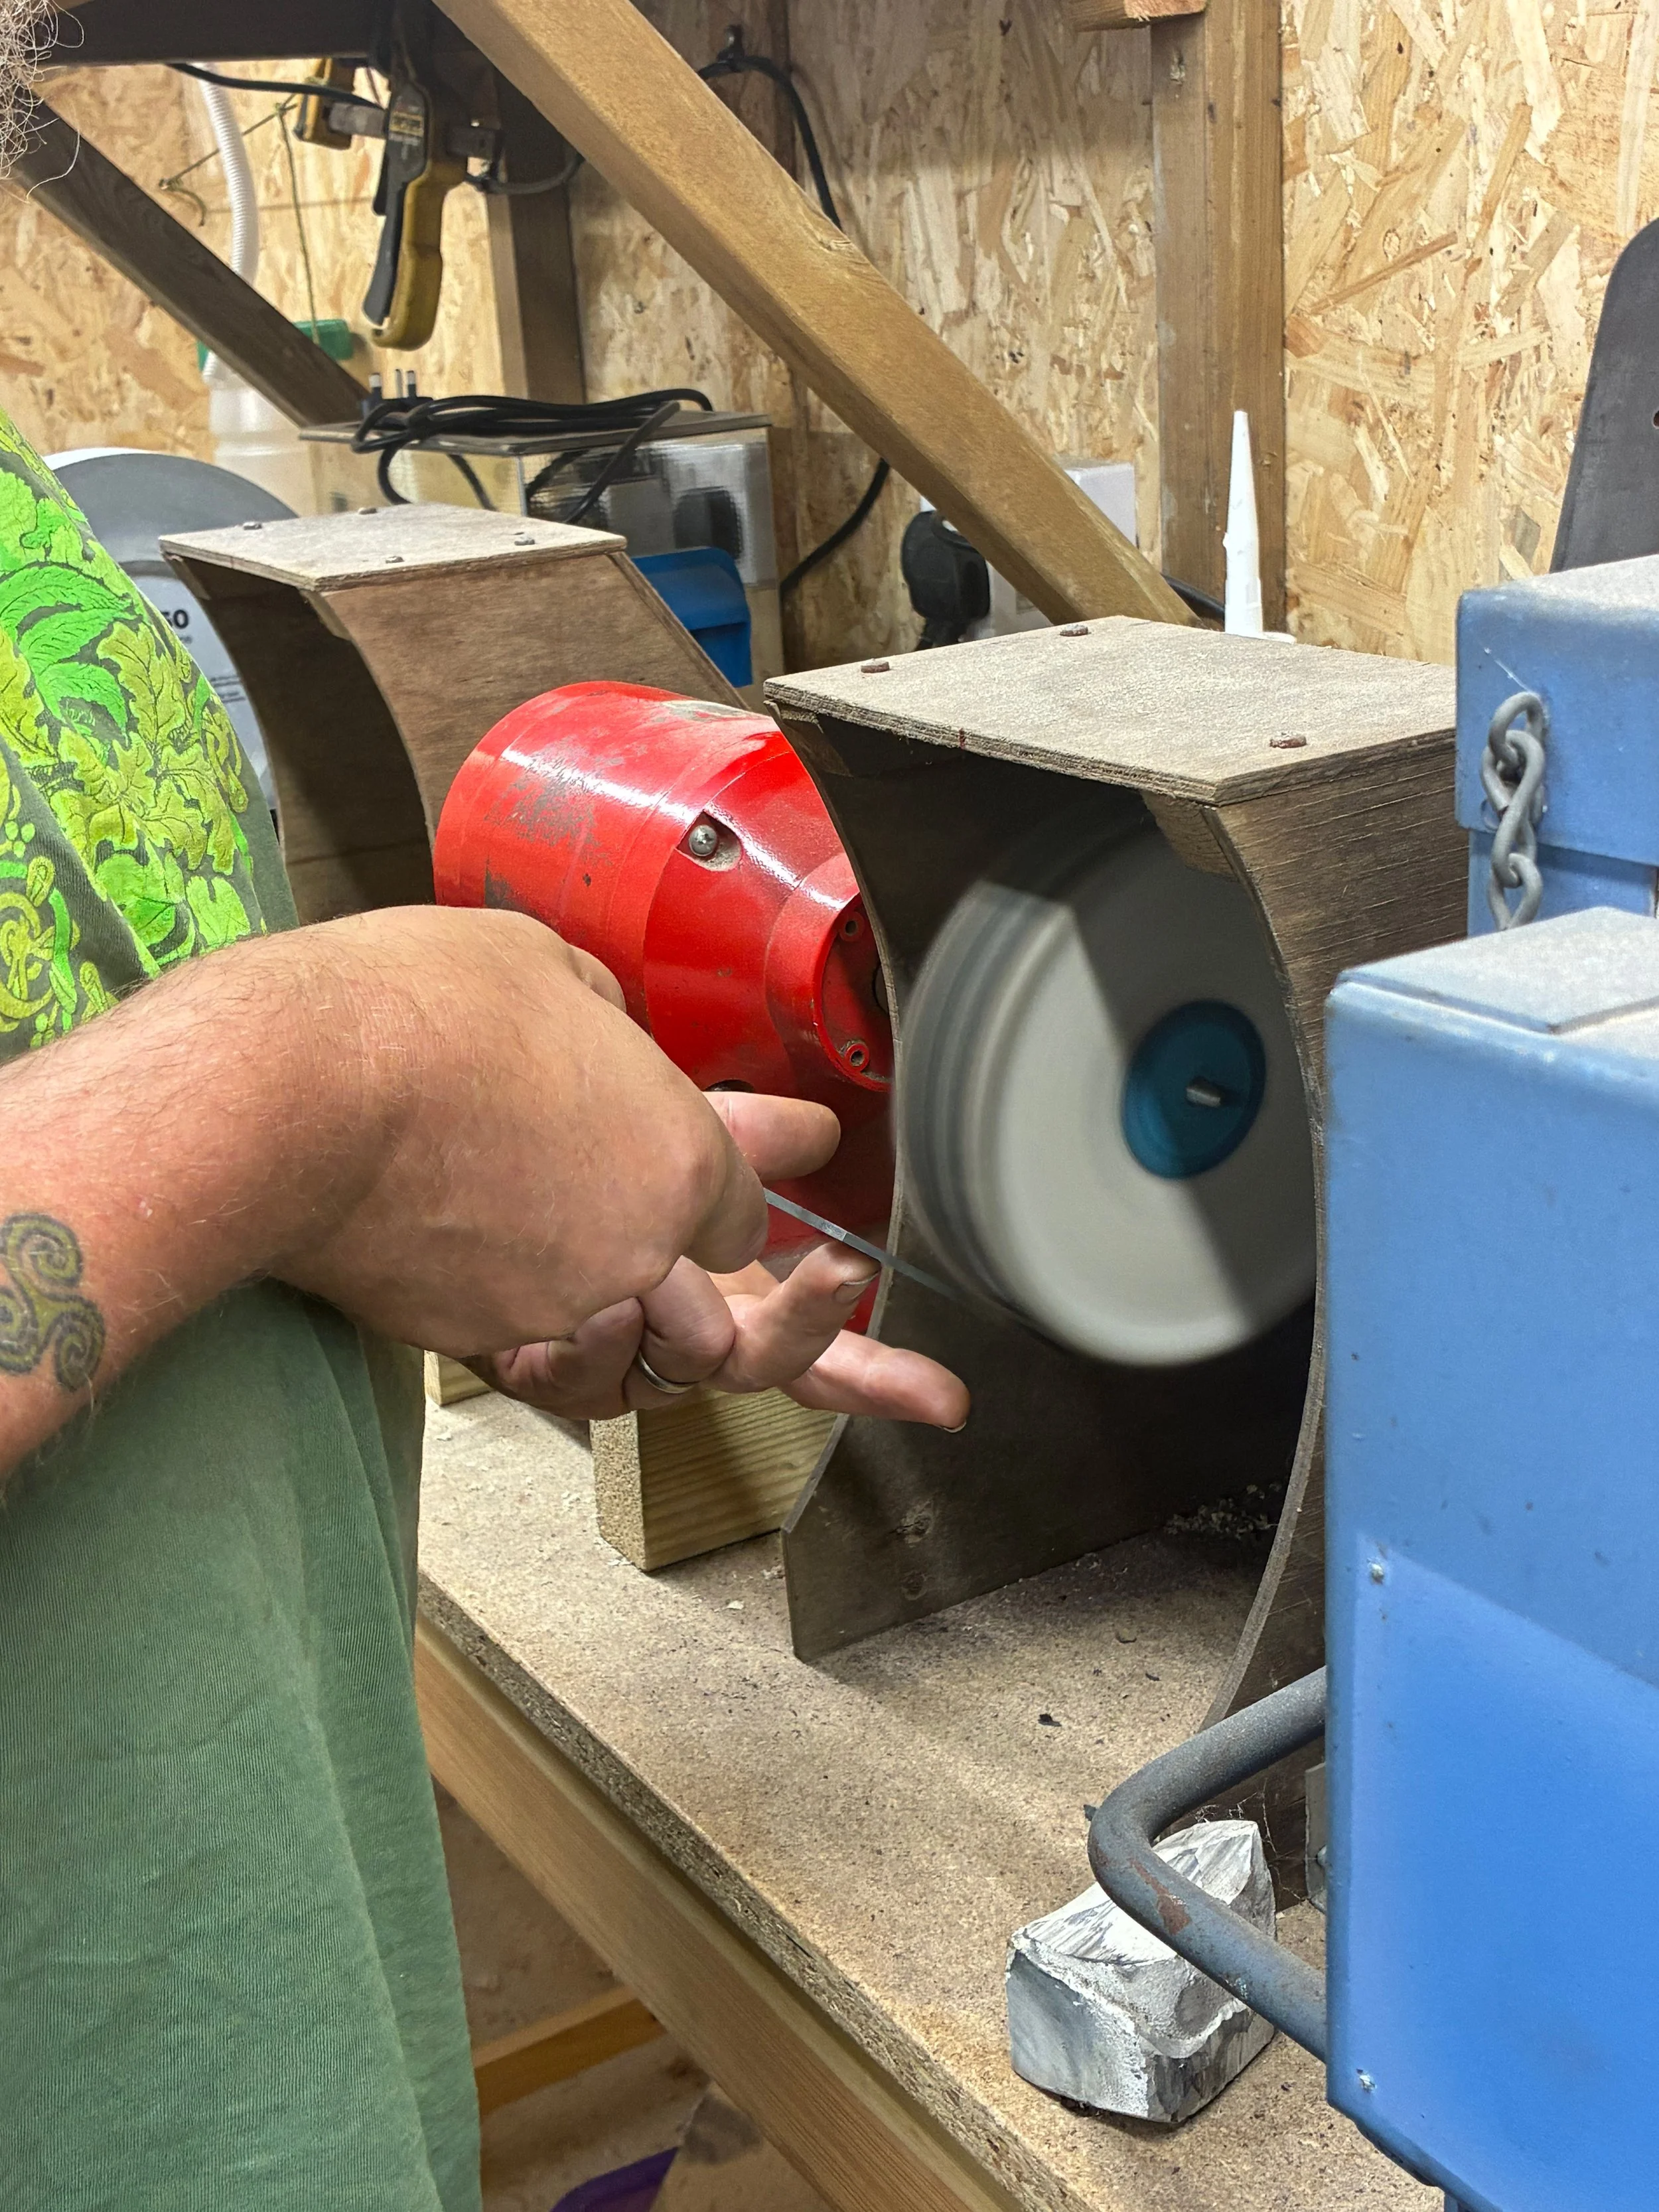
Cloth mops treated with compound on a polishing motor are a traditional way of achieving a final polish as it is very quick. It is however extremely dangerous and unless considerable skill is used all the corners and edges of your blade will become rounded and ‘lazy’ looking.
Having said that I do use a polishing lathe to give a final ‘colour’ to my blades on occasion. Starting with a stitched calico mop with Hyfin compound and finishing with unstitched cotton and rouge compound. I was trained in polishing technique when I was an apprentice silversmith and subsequently worked closely with professional polishers in various silversmiths workshops in London. It is surprising how many professional polishers are missing fingers!
In Conclusion
I spend a great deal of time on finishing my blades; it is probably where more time is spent than all the other processes put together. It can be tempting to use very coarse polishing compounds on sisal mops to cut out the need for hand sanding below P600 grit. However, this will result in very rounded edges and corners, details of hand-stamped or engraved makers marks get lost and a blade starts to look very ‘lazy’ and over-polished.
Time and patience will bring rewards - happy polishing.